
AI tools for designers: ideas, visuals, and client delivery
Vlad Voronezhtsev · · 9 min read

AI tools for designers can speed up visual exploration, controlled image edits, and format adaptation, but they don't define the assignment. A reliable workflow starts with project constraints, uses references to direct exploration, separates meaningful variants, and ends with a manually assembled layout plus checks for copy, dimensions, source rights, and client handoff.
- 1.
Lock the job, format, and exclusions
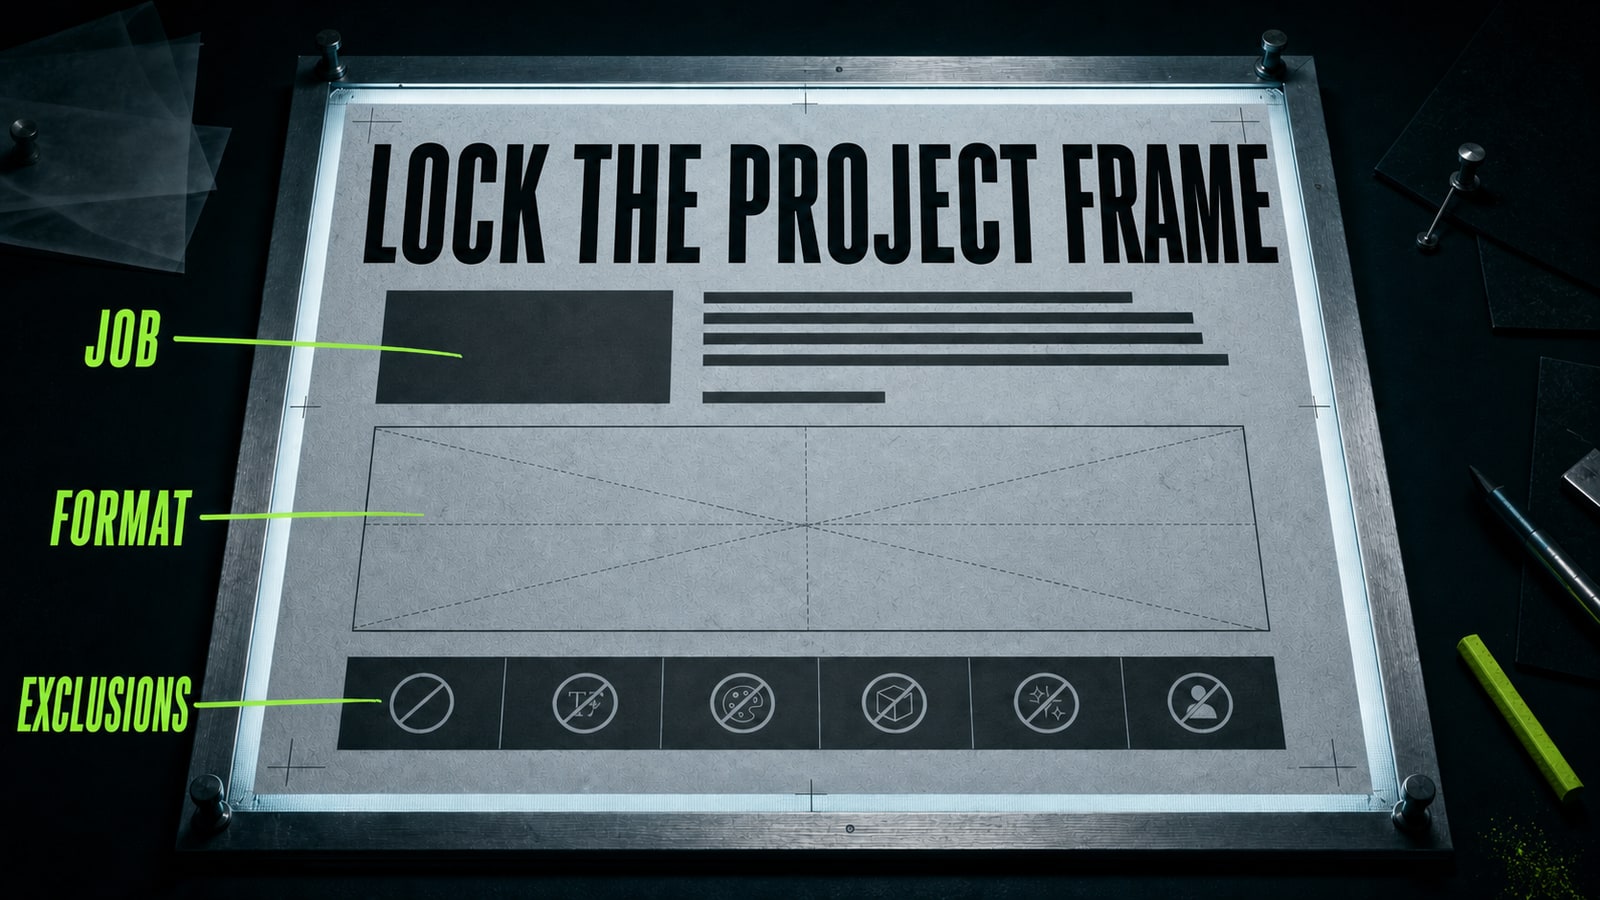
Start with a compact working brief. Record the audience, where the asset will appear, the action it should support, and who approves it. Add production constraints such as dimensions, channel, required elements, safe areas, language, and deadline. Then list exclusions: third-party logos, recognizable characters, unsupported claims, people without permission, and brand elements the model must not alter. AI design tools become useful once those boundaries are explicit. “Make it modern and premium” leaves nearly every decision open. “Create a 1600 × 900 hero background, place the subject on the right, keep a dark empty area on the left for the headline, and include no copy or logos” gives the designer something objective to review.
- 2.
Match the tool to the operation
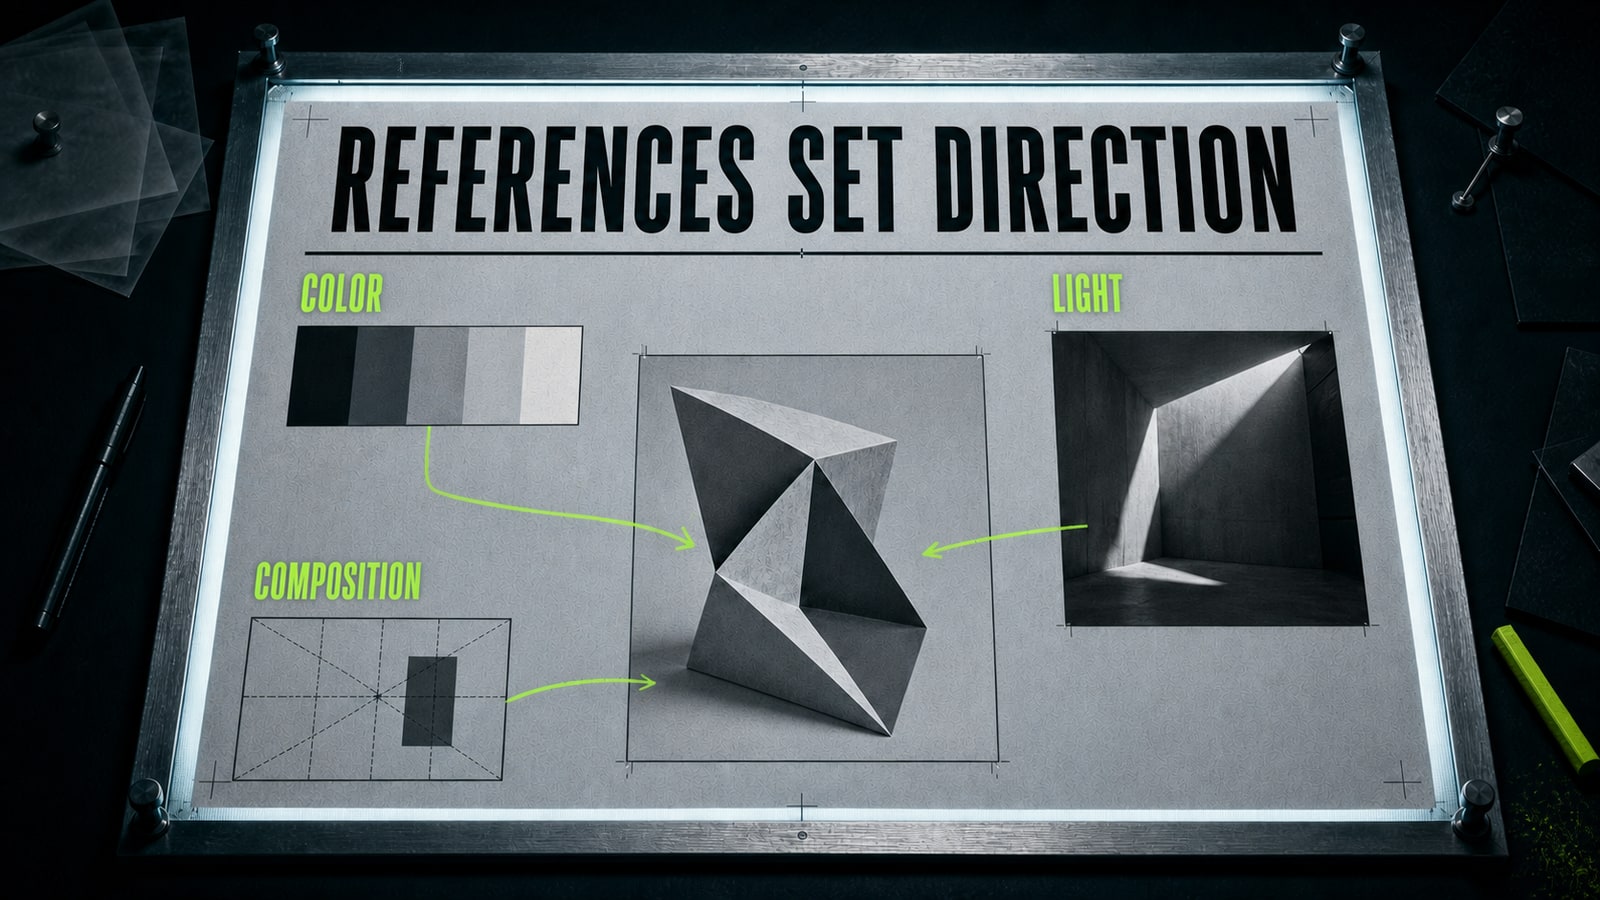
There is no single permanent ranking of the best AI tools for designers. New visual concepts require composition quality and reference control. Local edits need to preserve everything outside the selected area. Production work benefits when generation stays close to the editor. GPT Image 2 supports image generation and editing with image inputs. Figma AI can create and edit images inside a file, remove backgrounds, expand a frame, and boost resolution. Adobe Firefly and Photoshop support generative fill inside a selected region and can use a reference image. Features, plan access, and credits change, so check the official product documentation before committing a client workflow. Pick the tool after naming the operation: concept, object replacement, background expansion, subject isolation, or adaptation to a new aspect ratio.
- 3.
Explore one hypothesis through controlled variants
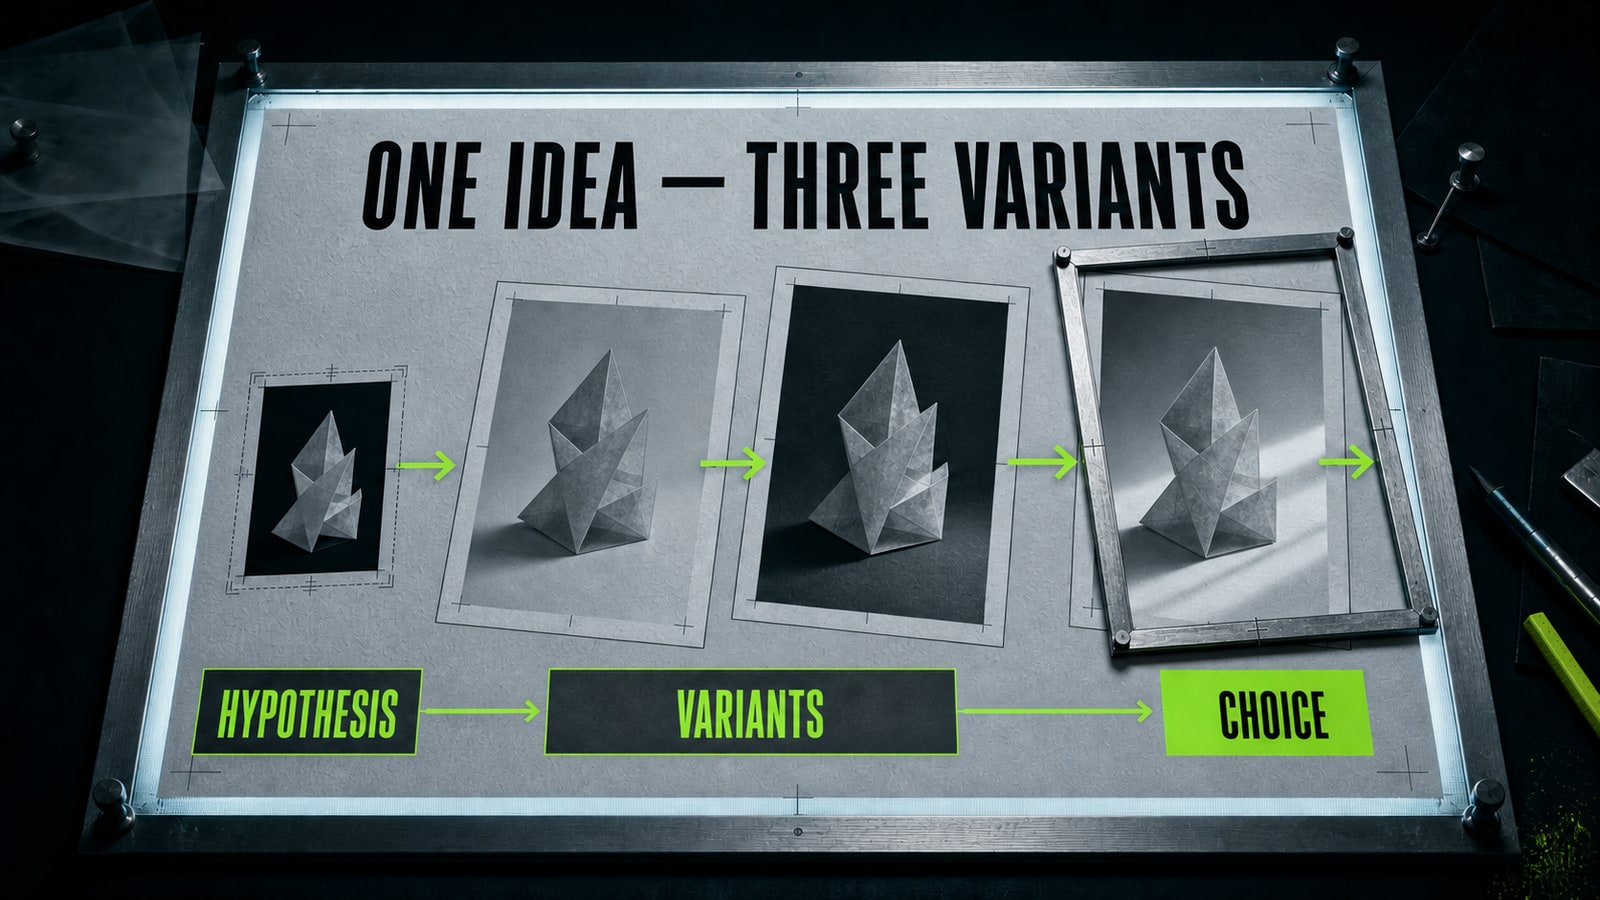
Don't ask one model run to invent the art direction, typeset the copy, and deliver the final banner. In the GPT Image 2 case for this article, the first instruction was, “make a premium landing hero for a creative workshop.” The image looked polished, but it added fake copy, centered the subject, and left no room for the interface. The corrected prompt was: 'Create only a 1600x900 background image for a creative workshop landing hero. Keep the left 42% dark, calm, and empty for HTML copy. Place one unbranded folded-paper sculpture in the right third. Soft side light, restrained texture. No text, letters, logos, buttons, frames, or UI.' The result supplied a clean copy area and one independent subject. From there, test three meaningful variants by changing one variable at a time: camera angle, background intensity, or light accent. A client can react to a clear design choice instead of three unrelated pictures.
- 4.
Assemble the layout manually and keep AI edits local
AI tools for graphic designers are strong at producing source material, while typography, grids, and component systems are safer in a standard editor. Import the selected image into Figma, Photoshop, or your usual production tool, set the real dimensions, and add copy as editable layers. The headline remains correct, line spacing stays controllable, and the client receives a file that can be updated. When one object is wrong, select only that region and describe a local edit. When a new format needs more breathing room, expand only the necessary edge. Repeat the invariants every time: retain the main subject, light direction, perspective, palette, and copy area. Opten can act as a prompt preflight by making the format, references, and preservation constraints explicit before generation.
- 5.
Review the asset and prepare a clean client handoff
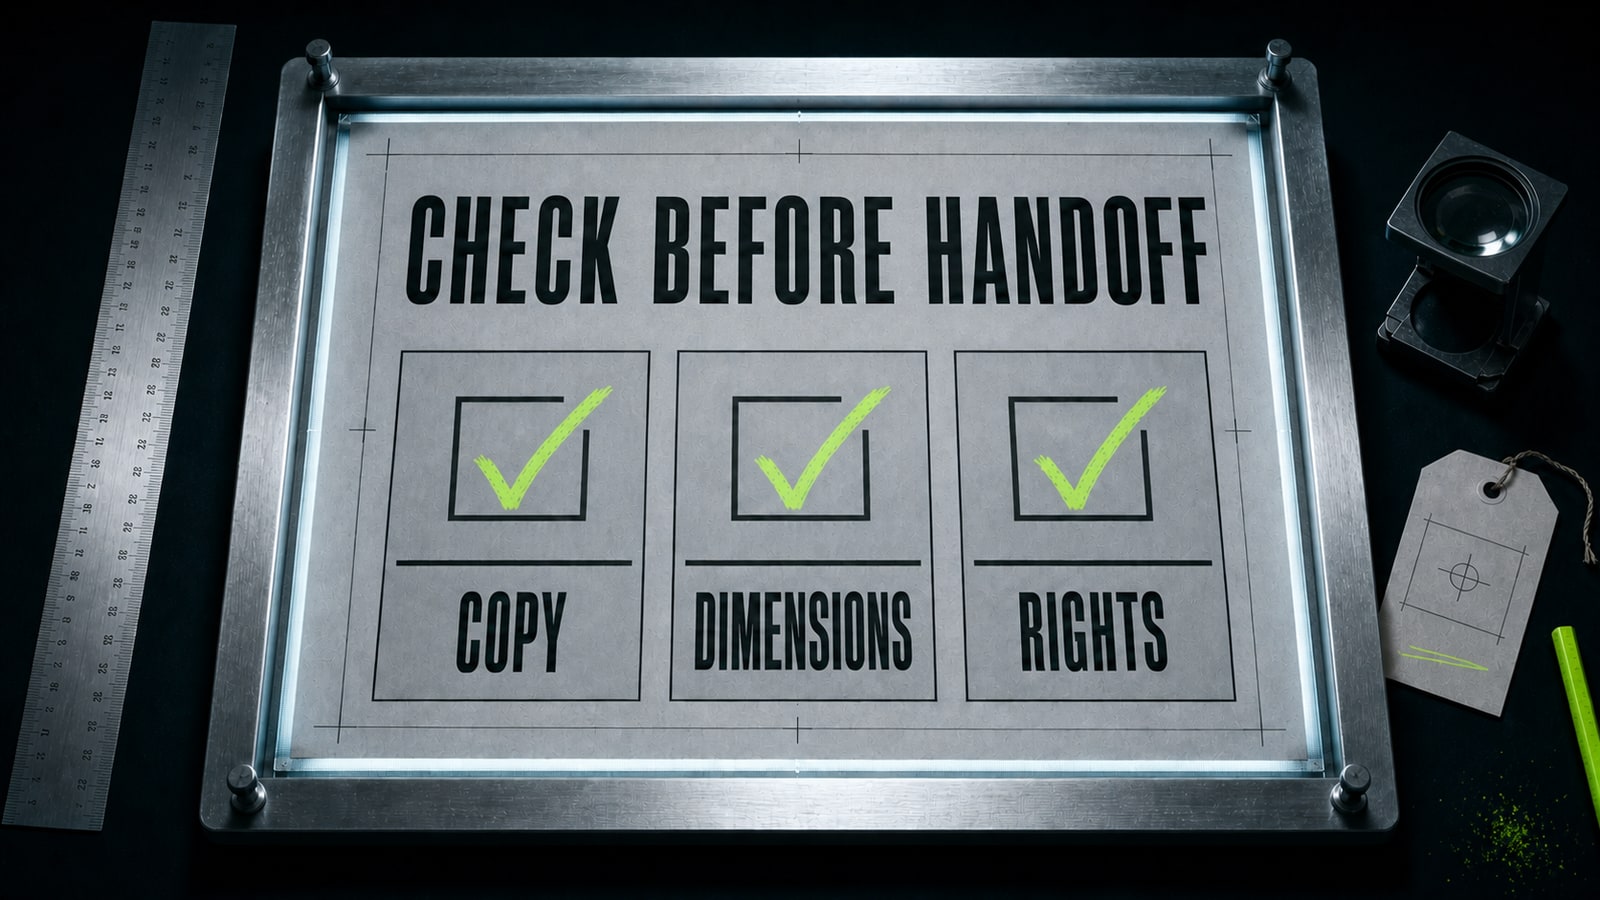
Open the asset at its delivery size and run four checks. First, copy: spelling, facts, prices, dates, and line breaks. Second, production: dimensions, color mode, raster quality, safe areas, and file weight. Third, rights: reference provenance, permission for people and brands, provider terms, and channel requirements. Finally, editability: deliver clear filenames, agreed export formats, and source files at the promised level. Keep the prompt, source images, and selected generation beside the project record. A useful AI creator course teaches this complete workflow instead of a collection of impressive prompts. The outcome should connect concept development, image work, video, layout, and review into one project a designer can explain and revise.


