
Figma tutorial for beginners: learn through one interface
Vlad Voronezhtsev · · 9 min read

A useful Figma tutorial for beginners teaches you to build an interface that survives content changes, not memorize isolated tools. Start with one small screen and learn frames, Auto Layout, components, styles, responsive behavior, and prototyping in context. AI can supply one illustration or copy option, while the structure and editable layers stay in Figma.
- 1.
Start with frames and a readable layer structure
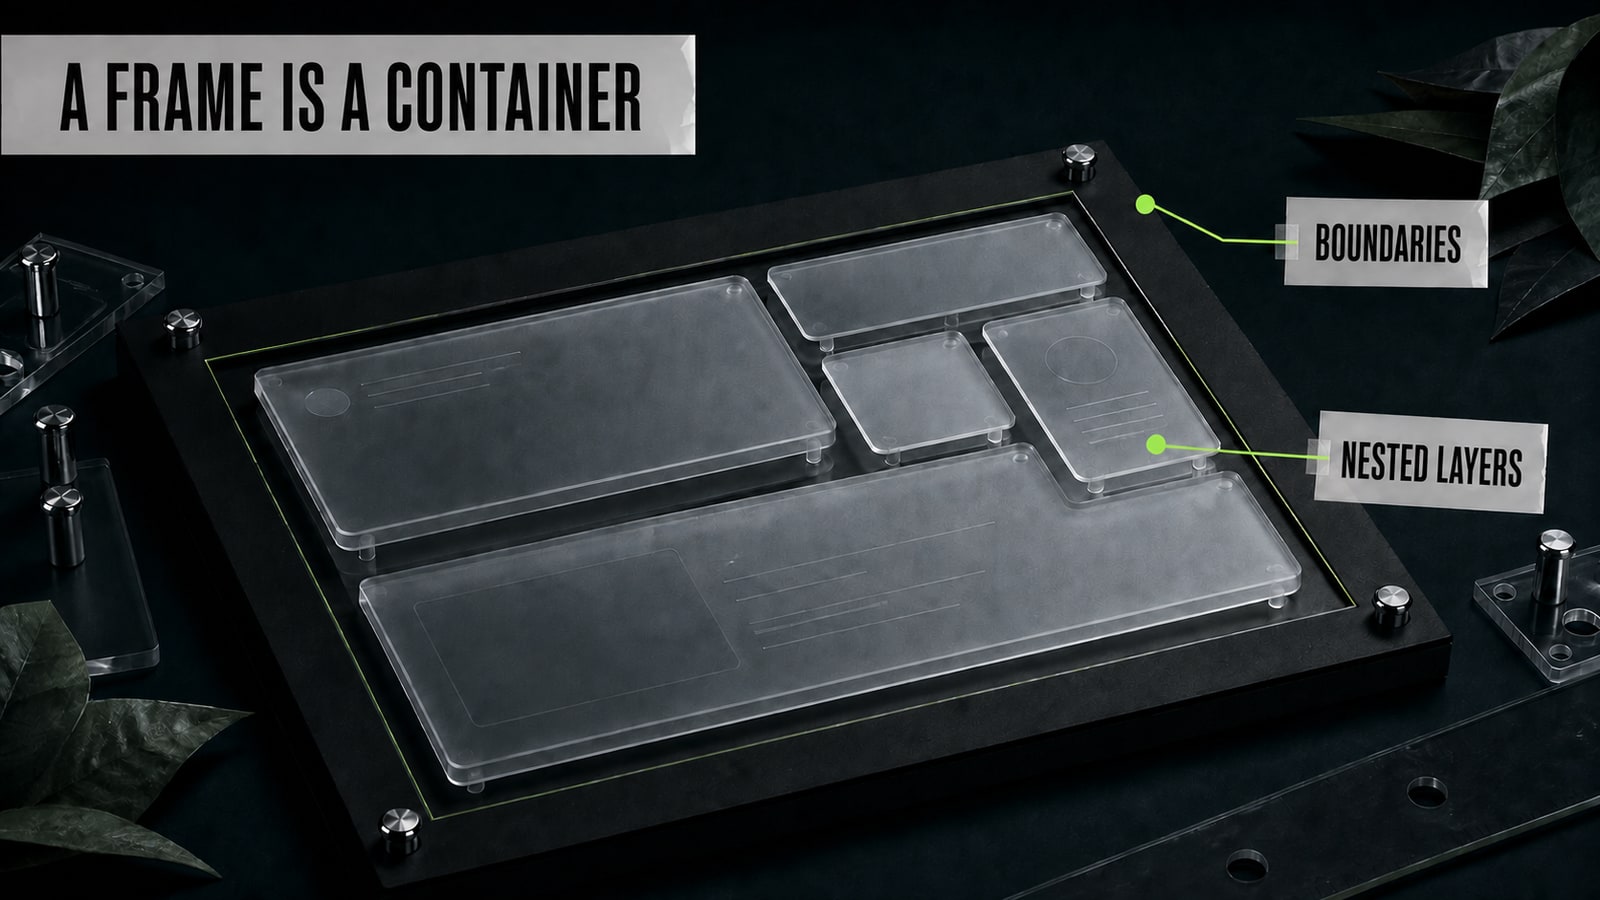
A login screen, event card, or compact landing hero is enough for the first exercise. Create a frame at the intended width and divide its content by meaning: navigation, headline, supporting copy, action, and image. Put each substantial block inside a nested frame and name it by its job instead of its current appearance. `Primary action` will still make sense after the button changes color; `Green button 2` won't. Don't begin a Figma course by drawing ten screens. One orderly file makes it much easier to see whether you understand nesting, alignment, and layer order or you're still positioning every object by hand and breaking nearby sections.
- 2.
Learn Auto Layout with difficult content
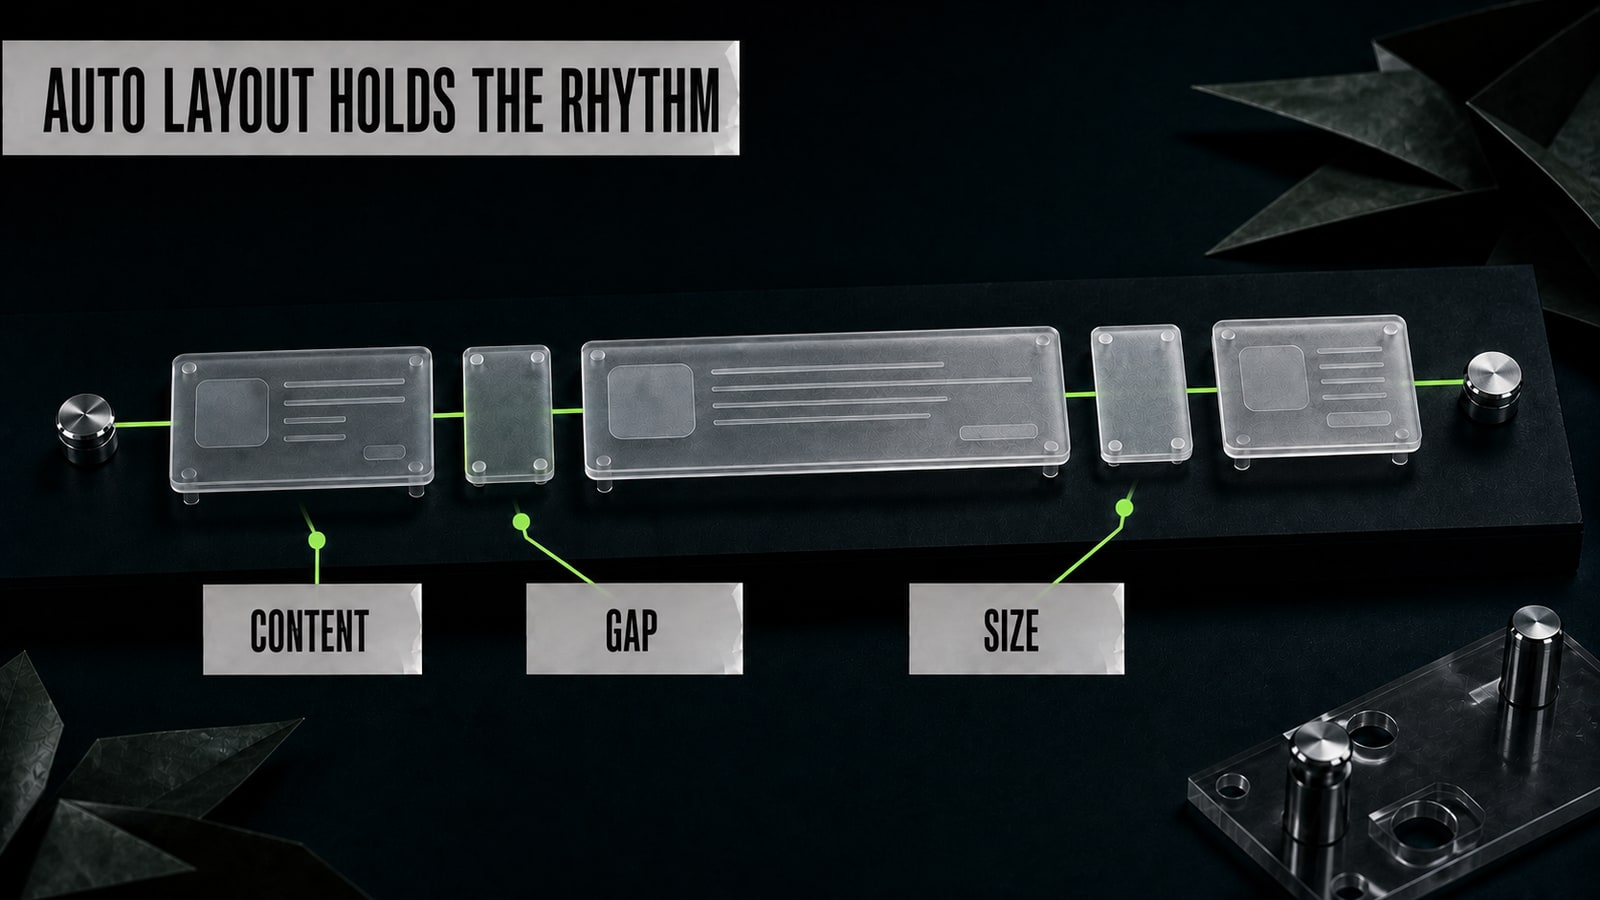
Start with a button. Its label should define the width, while the internal padding stays consistent when the copy changes. Next, build a vertical card from an image, headline, description, and action. Set the gaps, alignment, and resizing behavior. Replace the short headline with a long one and check whether the card grows without overlaps. Many Figma tutorial examples use content that already fits, so the layout rule never faces a real test. Add a long name, a two-line description, and an extended button label. When the interface absorbs those changes without manual repositioning, the structure is doing useful work.
- 3.
Build components and states without duplicating the system
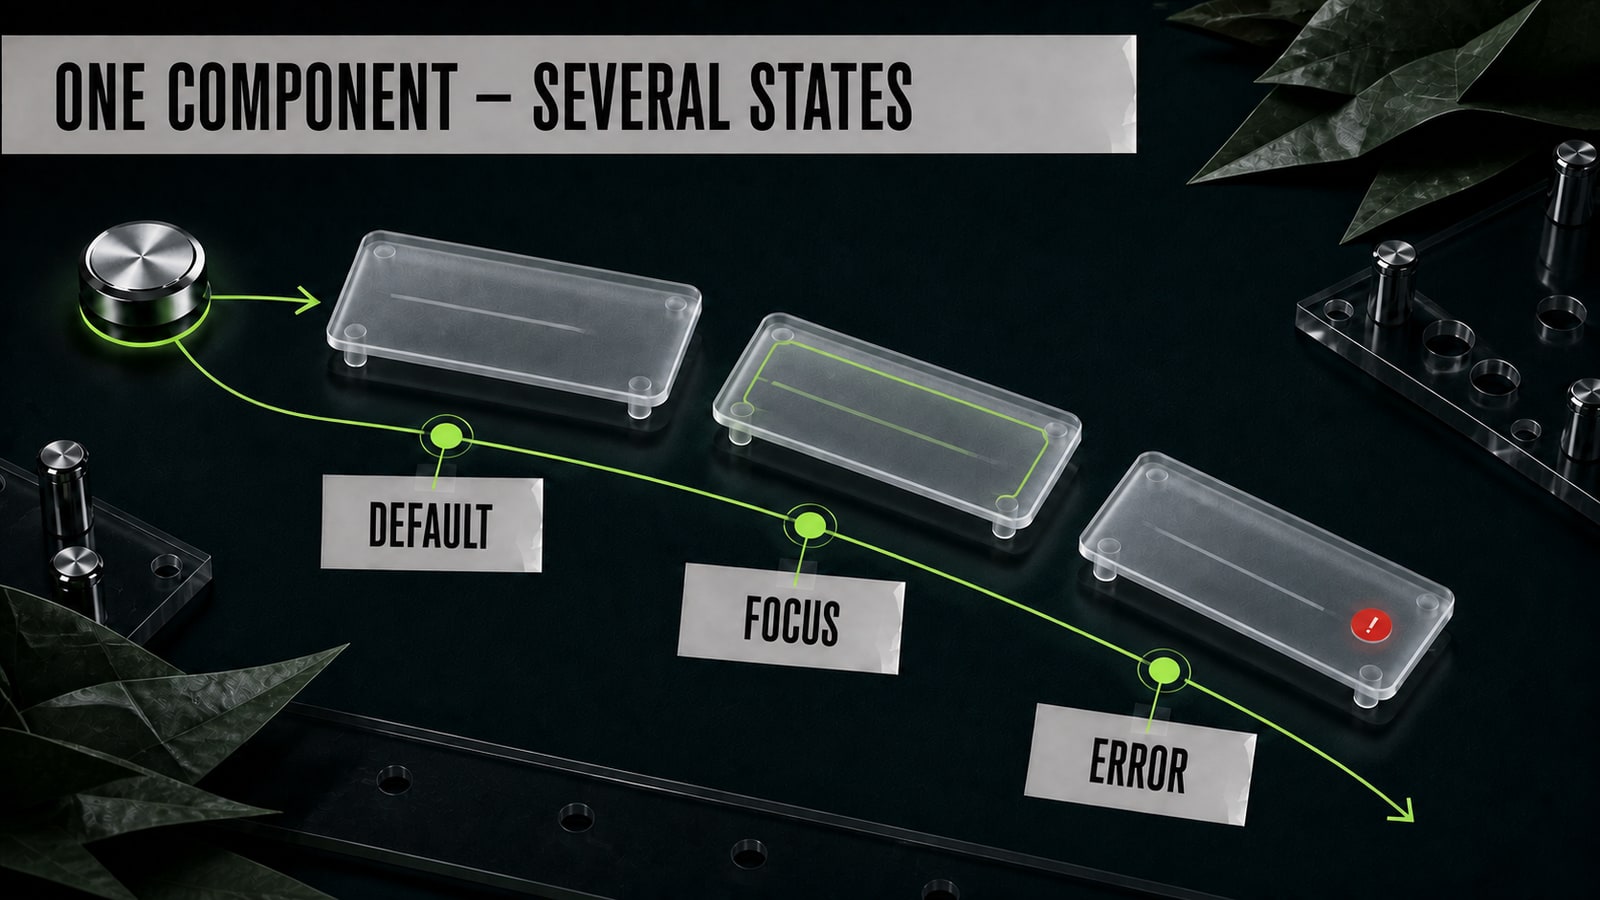
Turn a repeated button or field into a component. Component properties should control the parts that truly vary, such as label, icon, size, or state. A beginner input component only needs a small set of useful states: default, focused, filled, and error. Don't create a new main component for every line of copy. The instance owns its content, while shared geometry and styling come from one source. Change the radius, spacing, or color in the main component and confirm that all instances update. A practical Figma course should teach this kind of repairable system instead of asking you to copy the instructor's finished screens.
- 4.
Use AI as the source of one layer
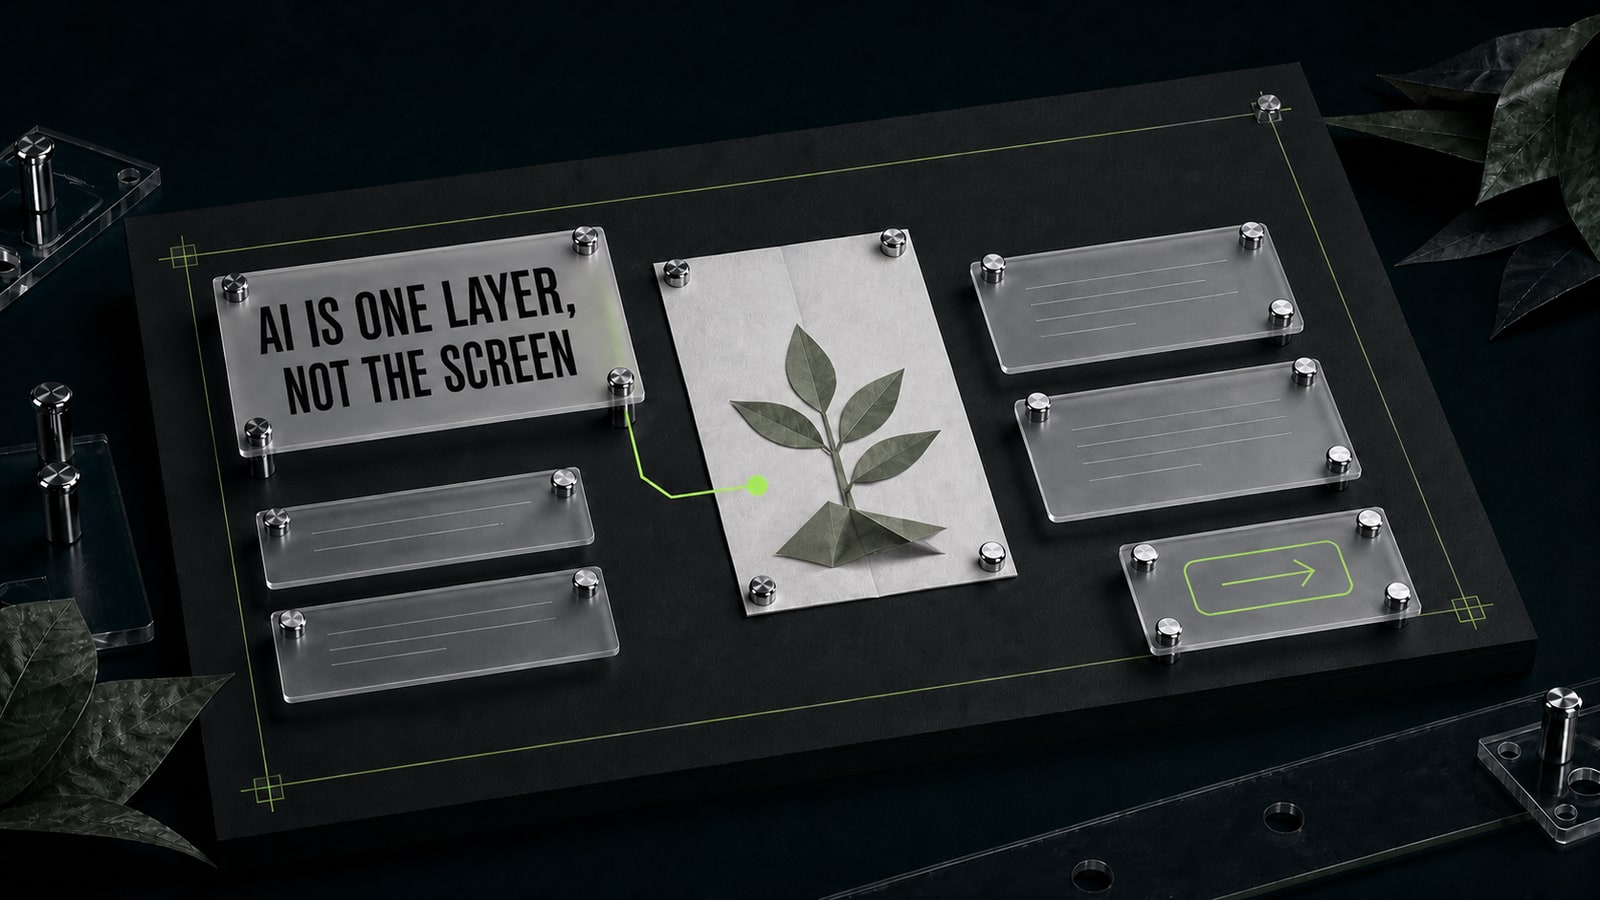
For a habit-app onboarding screen, the first GPT Image 2 instruction was “make a modern welcome screen with a plant.” The model embedded a headline, button, and fake interface inside the image, leaving nothing useful to edit. The corrected prompt requested one asset: 'Create only a 1200x900 editorial illustration for a habit-tracking app onboarding screen. One small paper plant growing from a matte charcoal pot, soft side light, calm dark background, centered subject with generous clean margins. No text, letters, logos, buttons, cards, browser frame, phone frame, or UI.' The result was a clean illustration. It entered Figma as one raster layer, while copy, controls, and spacing remained normal components. Opten can help catch a missing format or UI exclusion before generation.
- 5.
Create responsive layouts and test the prototype
For a website, build at least one large and one mobile width. Don't shrink the desktop design as a single object. Decide which blocks reorder, when cards collapse into one column, how navigation becomes compact, and which fields fill their container. Check resizing rules and Auto Layout at every nesting level. Connect the important states into a prototype, then complete one short scenario: open the screen, take an action, and receive confirmation or an error. Ask someone else to try without coaching. Their first hesitation is usually more informative than another round of cosmetic polish. Finish with clear component names, styles, notes for unusual decisions, and a link that opens at the correct prototype starting point.


